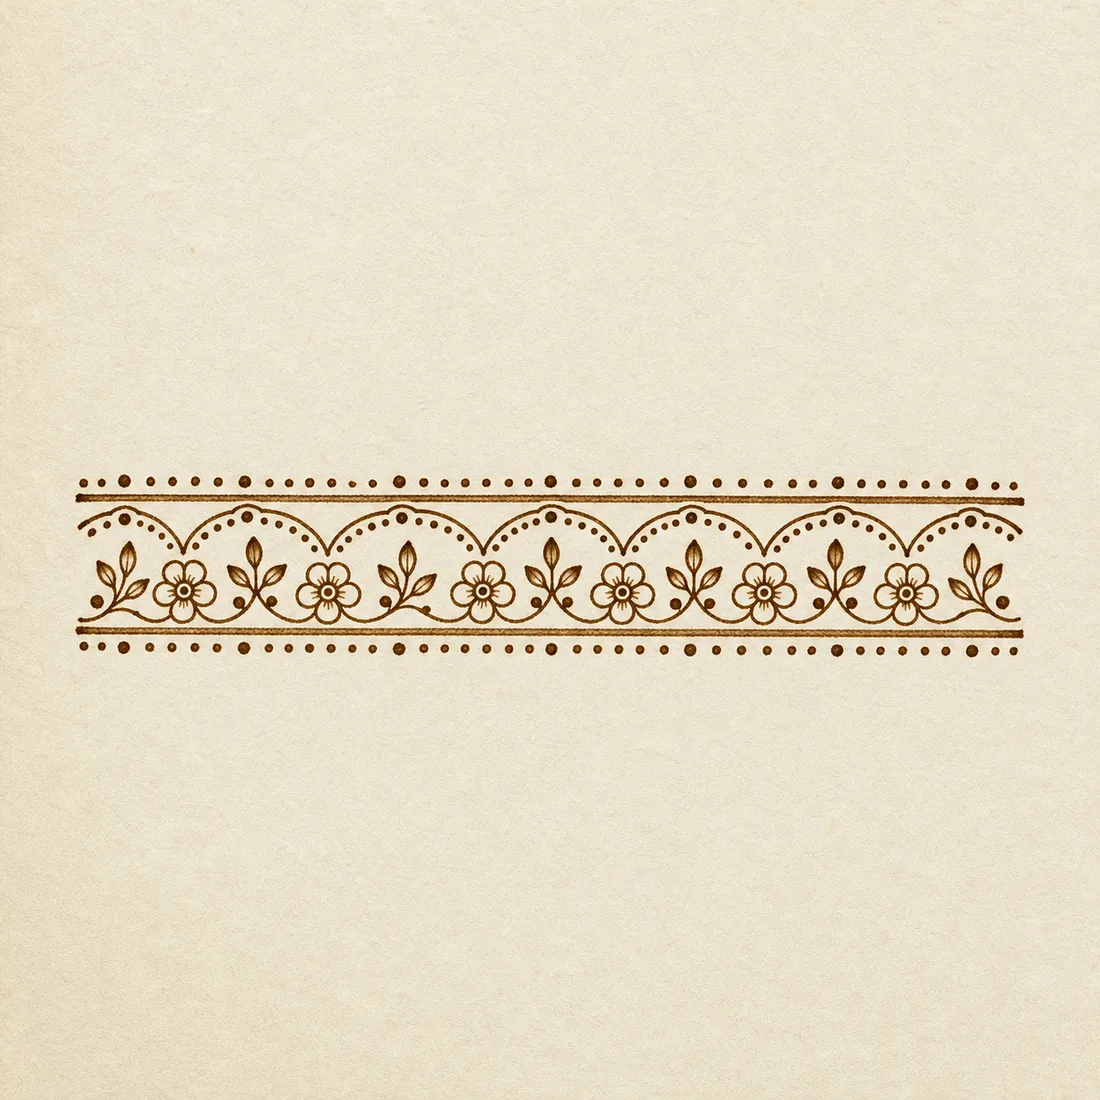
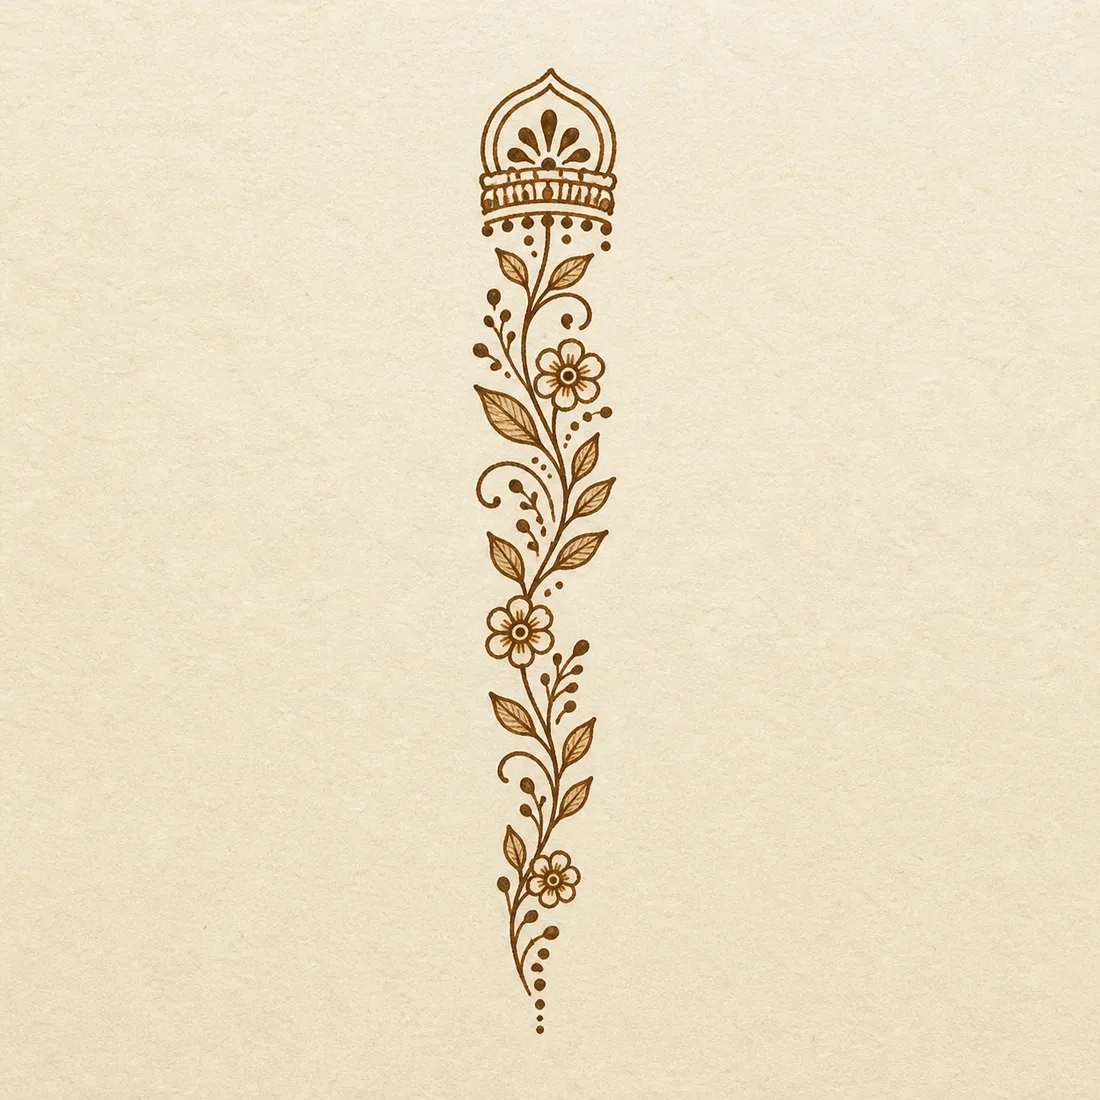
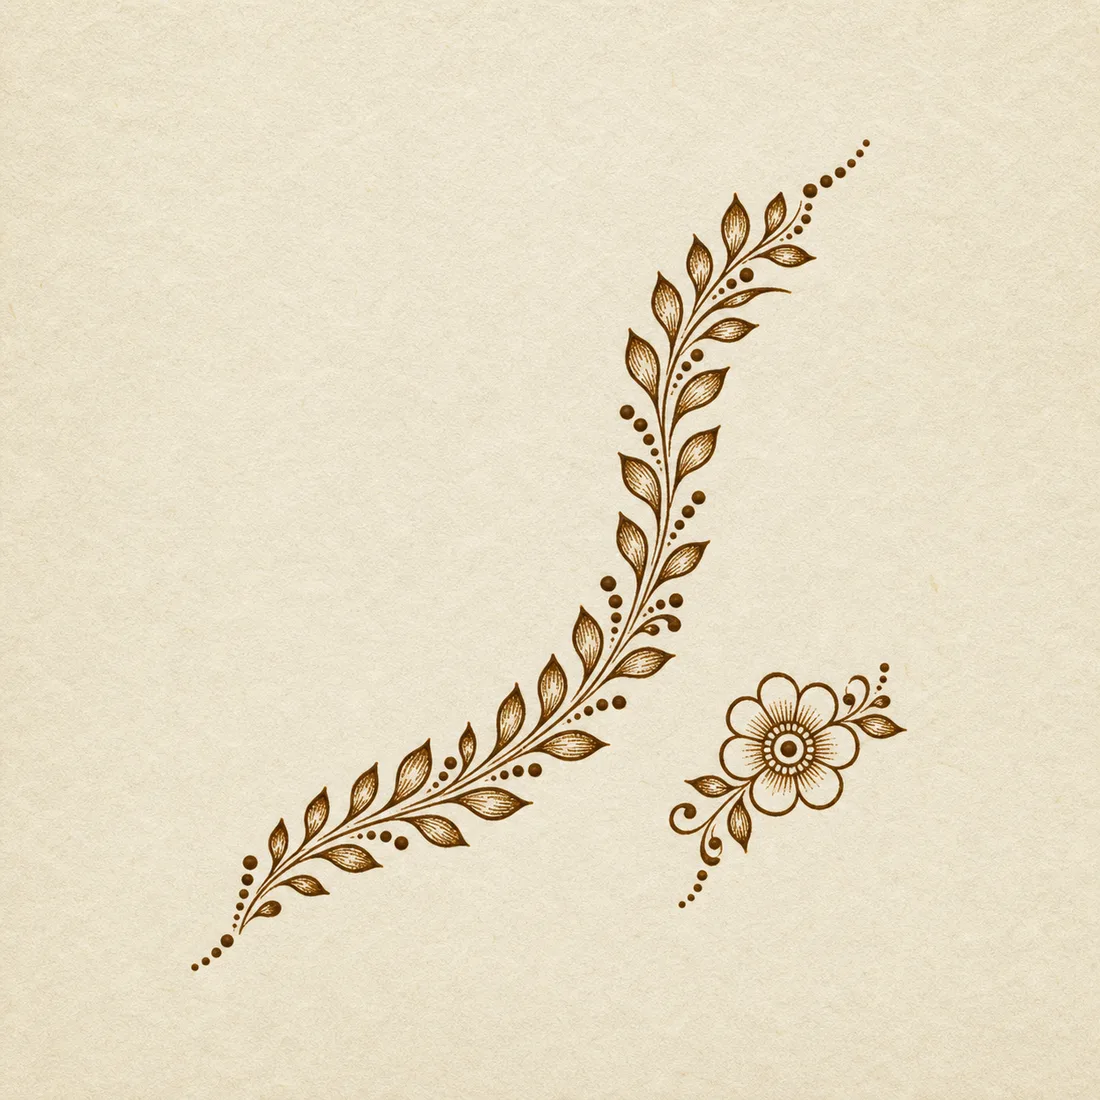
These simple mehndi designs are built for first practice sessions: open spacing, repeatable flowers, soft vines, dotted accents, and no dense bridal filling. Each design works as a paper template before you try it with a henna cone.

Start with the floral trails if you want an easy front-hand look, or use the wrist band and finger vine when you need a smaller design that is faster to copy. The notes below label difficulty, estimated drawing time, placement, and the best use case for each pattern.

How to choose a first pattern

  • Choose a finger vine or wrist band if you have less than 10 minutes.
  • Choose a floral trail if you want a front-hand design that looks complete without heavy filling.
  • Choose the small mandala after you can draw even circles, petals, and dot rings.
  • Print or trace the pattern once before applying henna on skin.

Practice sheet

Use this gallery as a paper practice sequence

Start with Template 01, copy the larger shapes first, then add dots, leaves, and small fills after the main linework feels steady.

Beginner notes

Questions before you start drawing

Which mehndi design is best for absolute beginners?

Start with a floral trail, finger vine, or wrist band. These use repeatable leaves, dots, and simple flowers, so small mistakes are easier to hide.

How long does a simple mehndi design take to draw?

Most beginner designs on this page take about 8 to 18 minutes on paper. Drawing on skin can take longer because cone pressure and hand position matter.

Are these designs for real henna application or practice?

They are beginner practice templates and design ideas. Use them on paper first, then adapt the spacing and size before applying natural henna on skin.

Can I use these patterns for kids?

The simpler wrist, finger, and small floral designs can work for kids, but always use natural henna and avoid black henna or unknown chemical mixes.